Perform the next steps to install Oracle:
•Unzip the files ‘win64_11gR2_database_1of2.zip’ and ‘win64_11gR2_database_2of2.zip’ in the same folder, for example, ‘win64_11gR2_database’. If you use ‘Extract All’ in the Microsoft Windows explorer you need to change the proposed folder name. Accept the warning that the files will be merged.
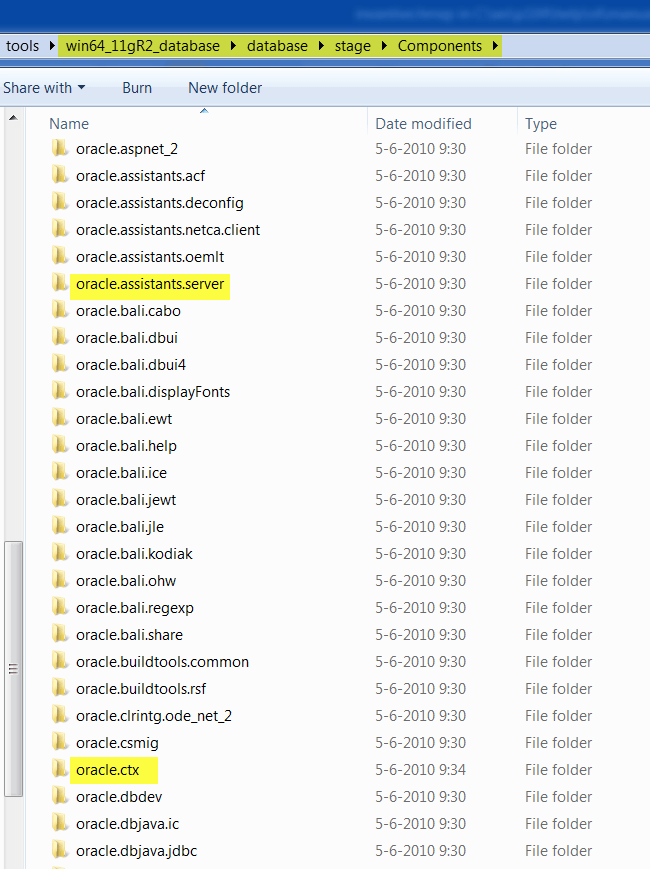
•Make sure that all extracted files from both zip files end up in the same map. You can verify this by checking that in ‘database/stage/Components’ there will be a folder ‘oracle.ctx’. If this is not going well, then the installation will complain about the missing parts of the installation files. The result is for example:
•Start ‘setup.exe’.
•In the first screen it is usually recommended given the network configuration and security rules to turn off the automatically log on to Metalink::
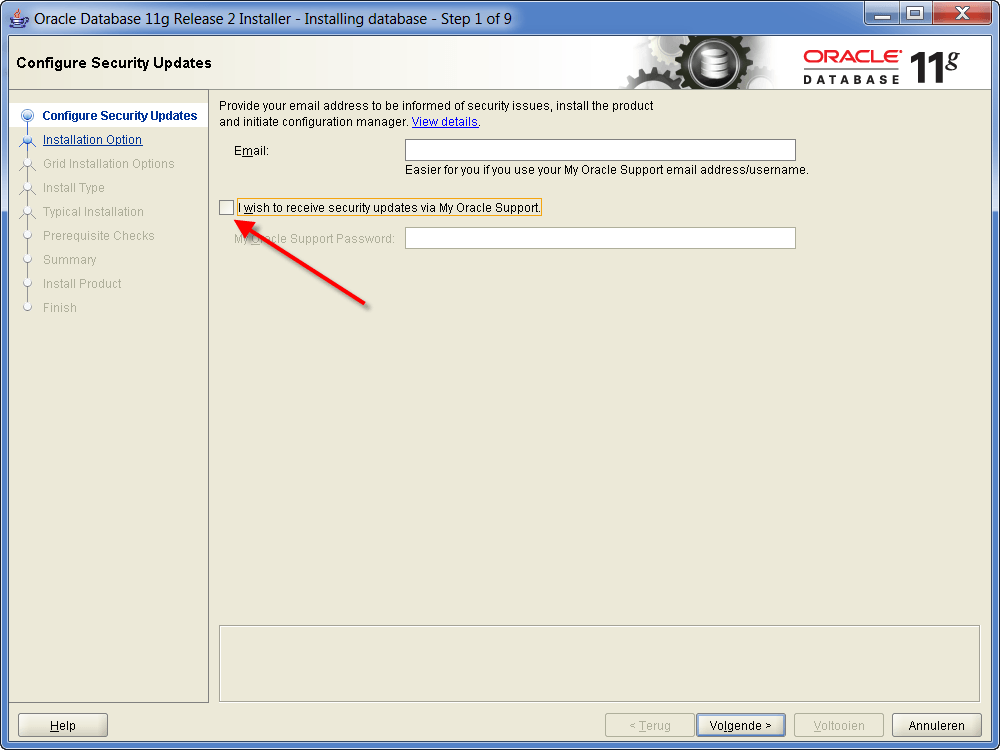
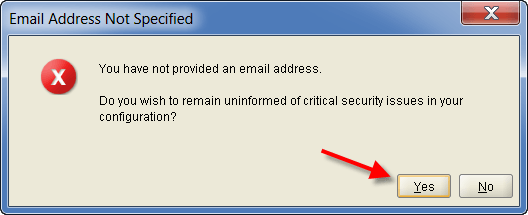
•Select ‘Next’ and choose ‘Yes’ when the warning appears.
•The following screen appears:
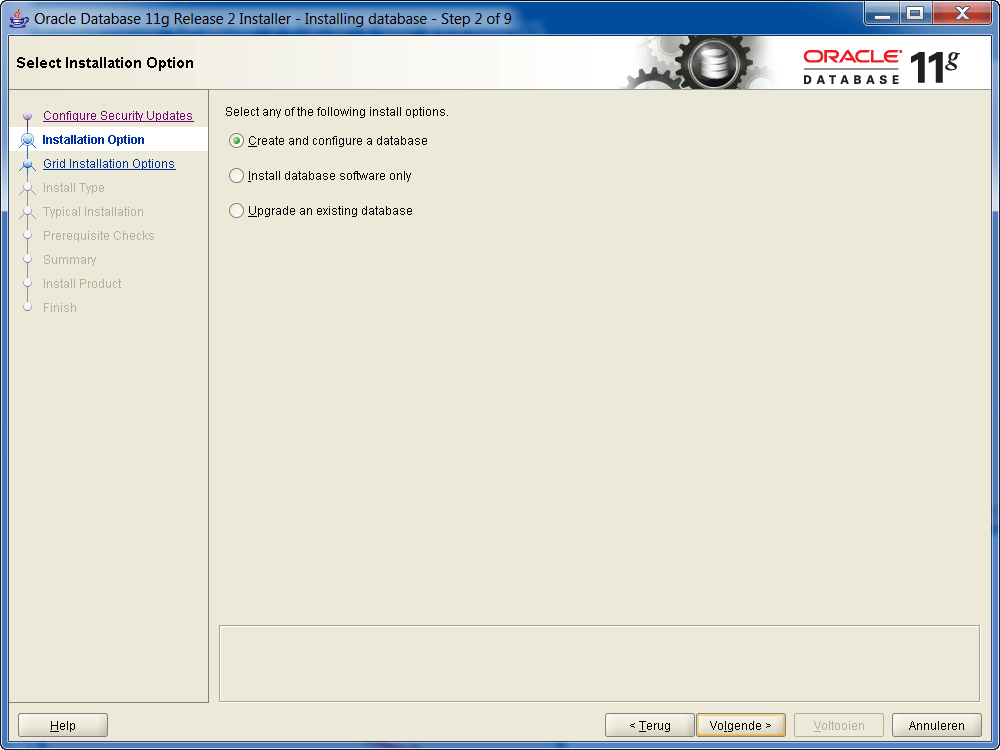
•Select ‘Next’.
•The following screen appears:
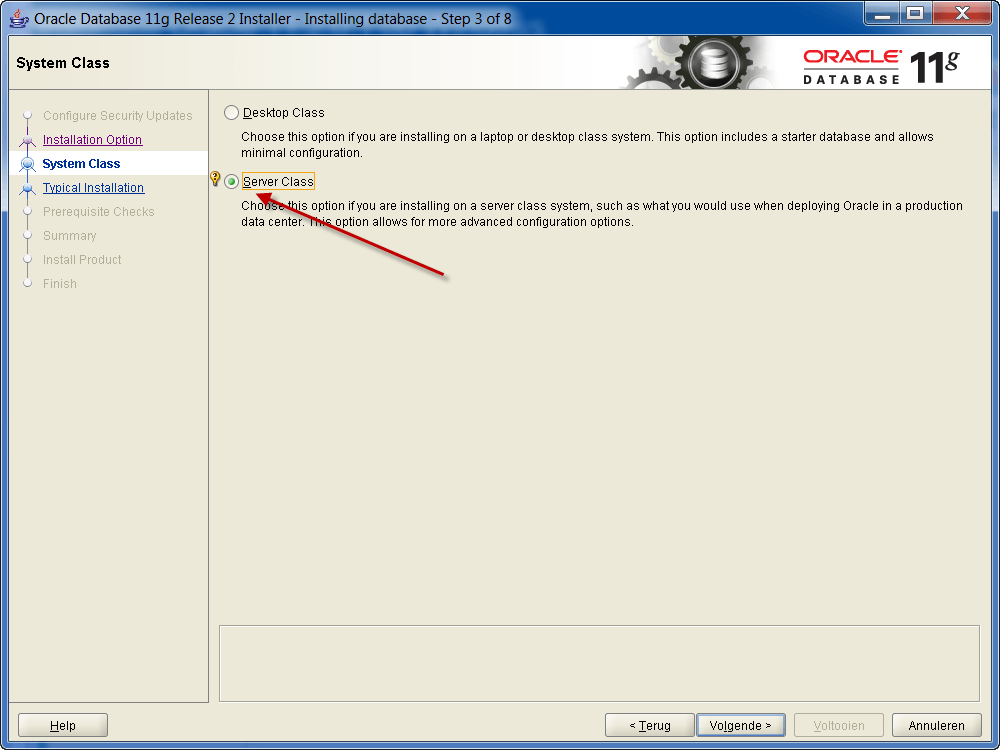
•Select ‘Server Class’ and then select ‘Next’.
•The following screen appears:
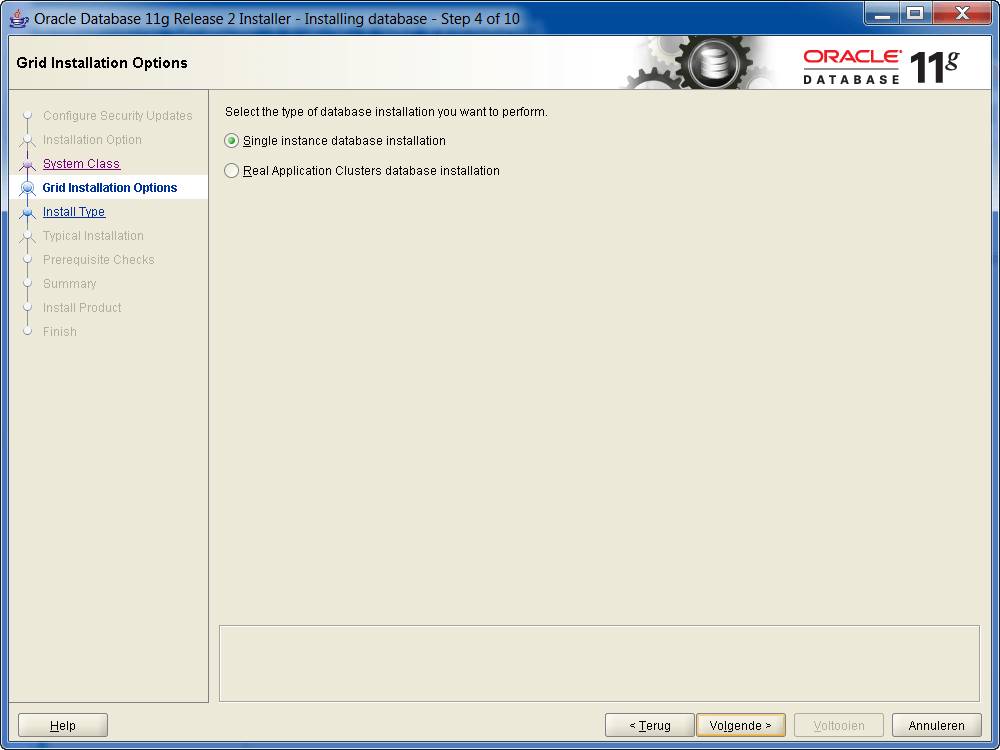
•Select ‘Next’.
•The following screen appears:
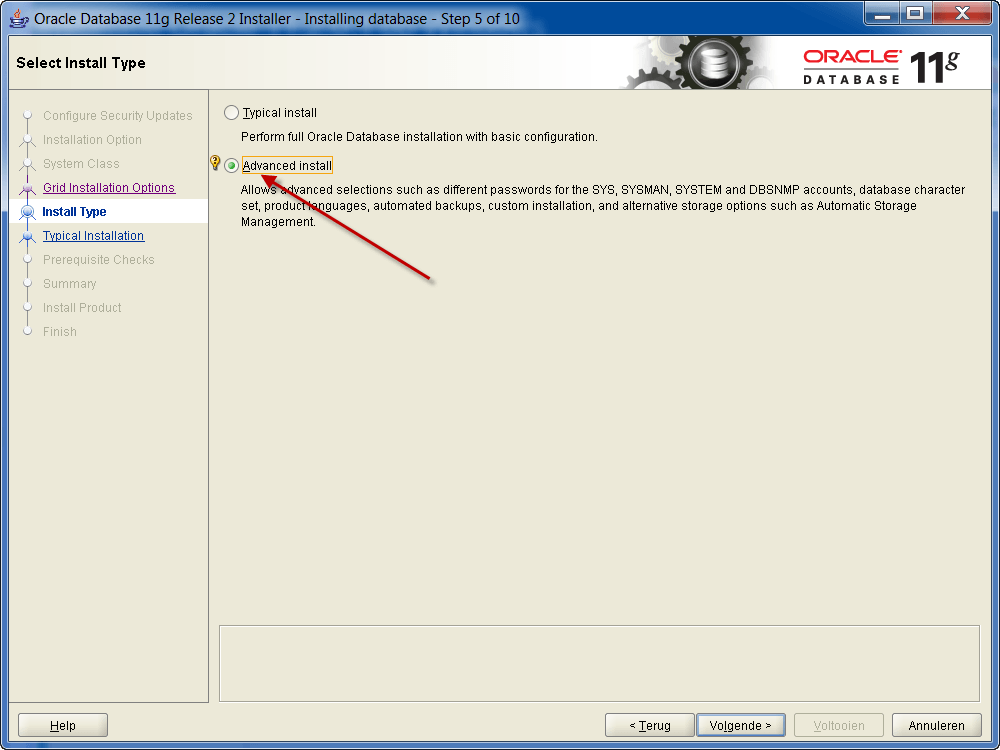
•Select ‘Advanced install’ and then select ‘Next’.
•The following screen appears:
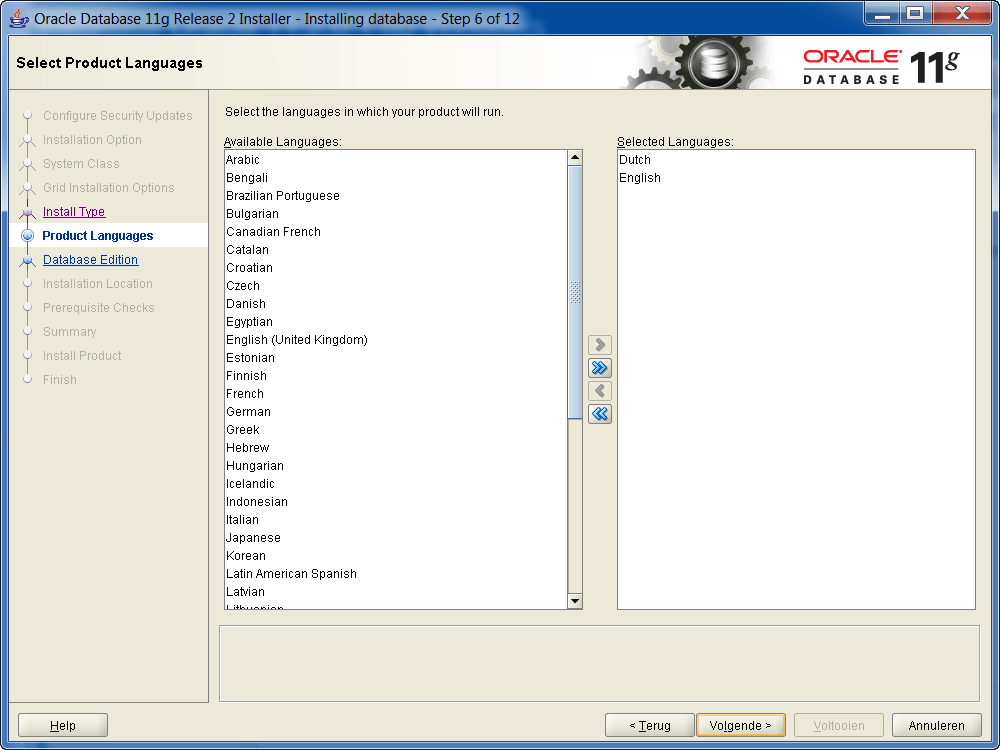
•Select at least the languages in which the system will be ever used, but preferably choose all languages.
•Select ‘Next’.
•The following screen appears:
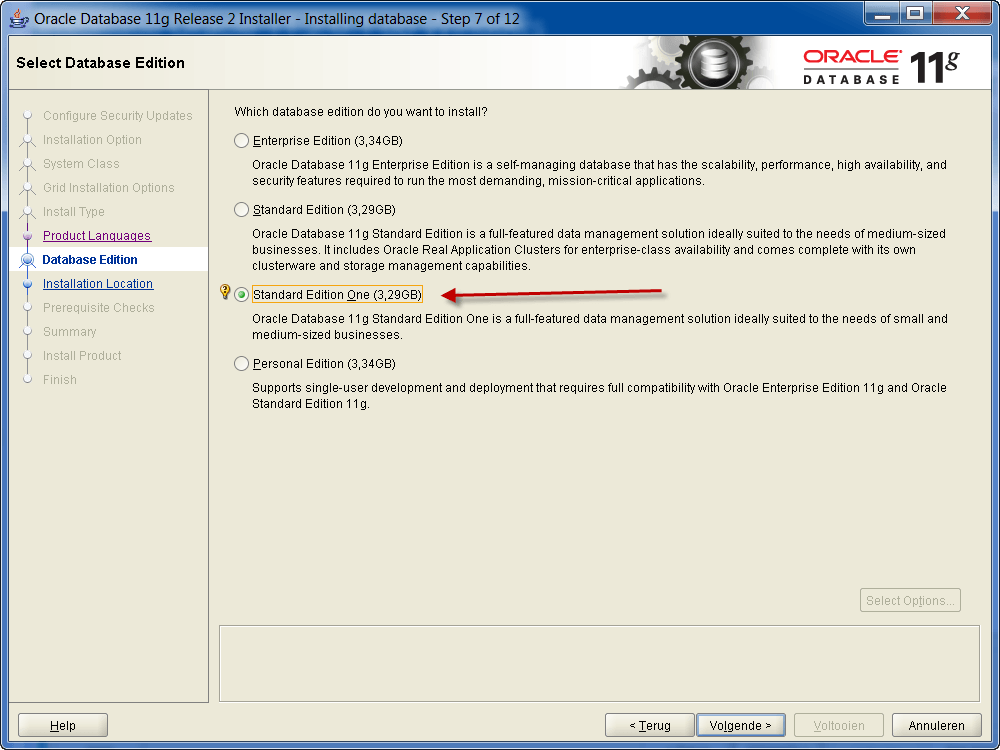
•Select ‘Standard Edition One’ when this is licensed. This is also the minimum level necessary for proper operation.
•Select ‘Next’.
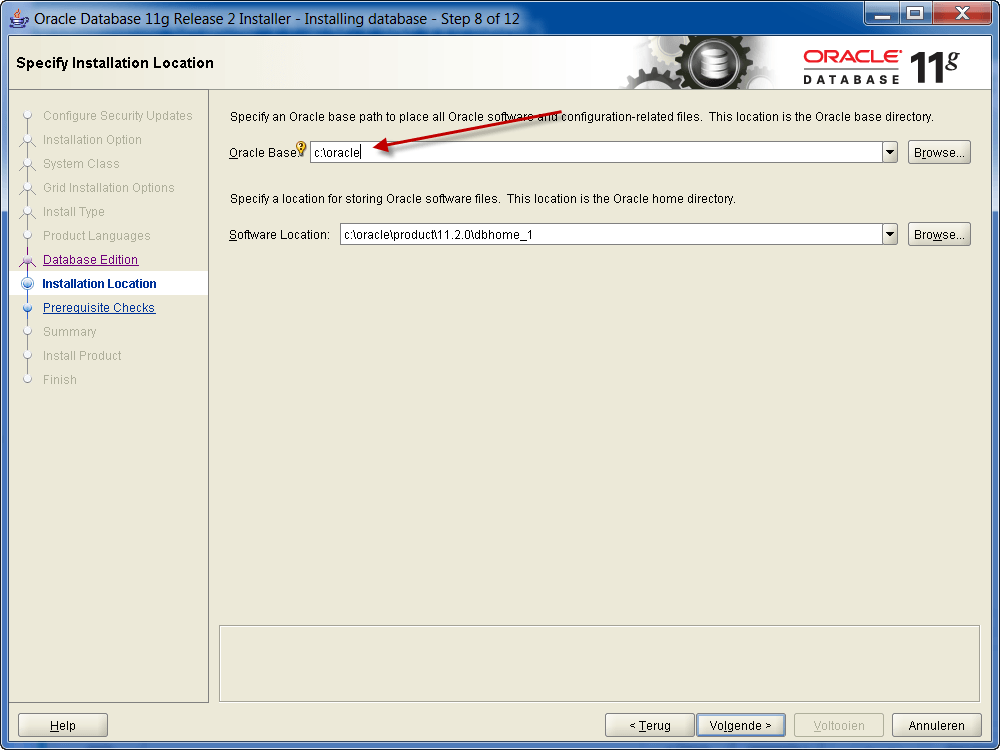
•Fill in at ‘Oracle Base’ the preferred location, most common is ‘<DRIVE>:\oracle’.
•Select ‘Next’.
•The following screen appears:
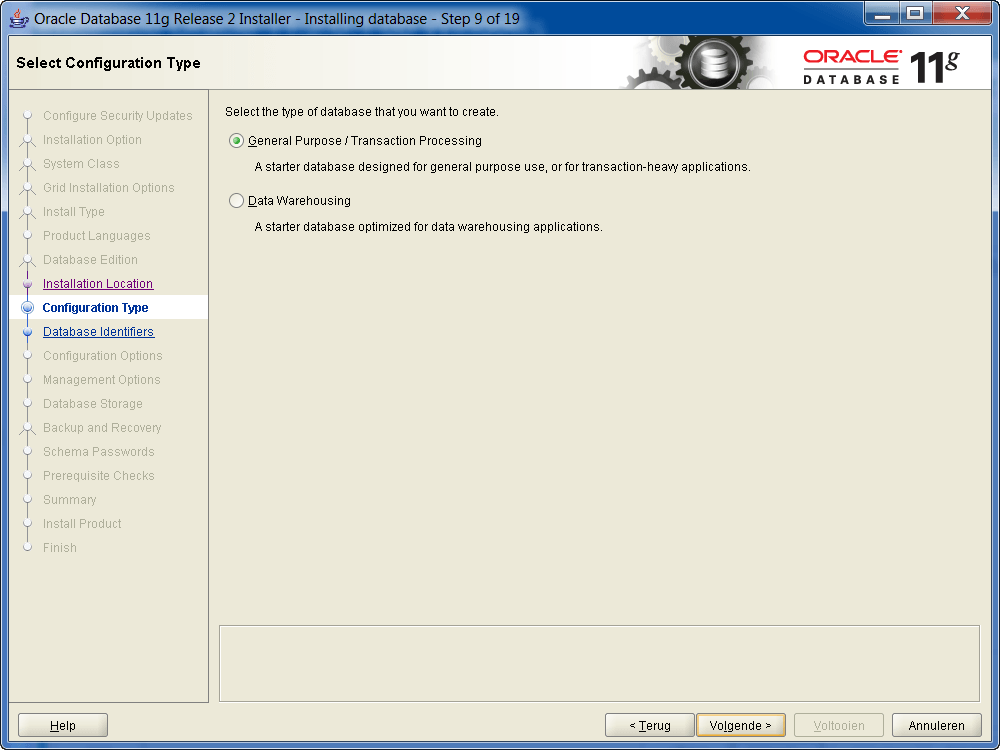
•Select ‘Next’.
•The following screen appears:
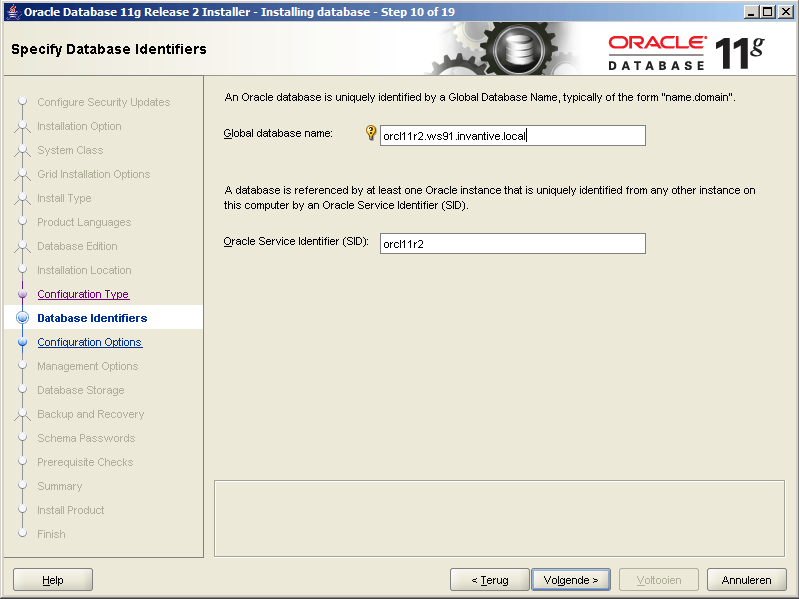
•Enter the Global database name ‘orcl11r2.<MACHINENAAM>.<DOMEIN BEDRIJF>’, for example, ‘orcl11r2.ws48.invantive.com’.
•Select ‘Next’.
•The following screen appears:
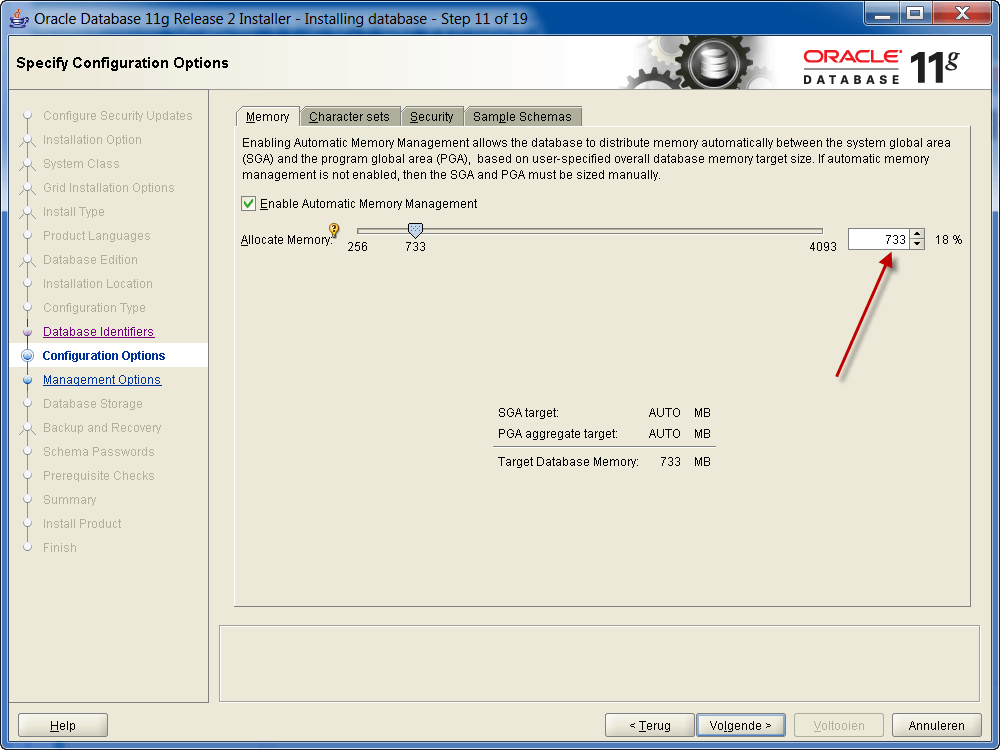
•Set the maximum memory use after consultation with the system administrator and the requirements based on the number of users.
•Select the tab ‘Character sets’ and select ‘AL32UTF8’ as standard character set:
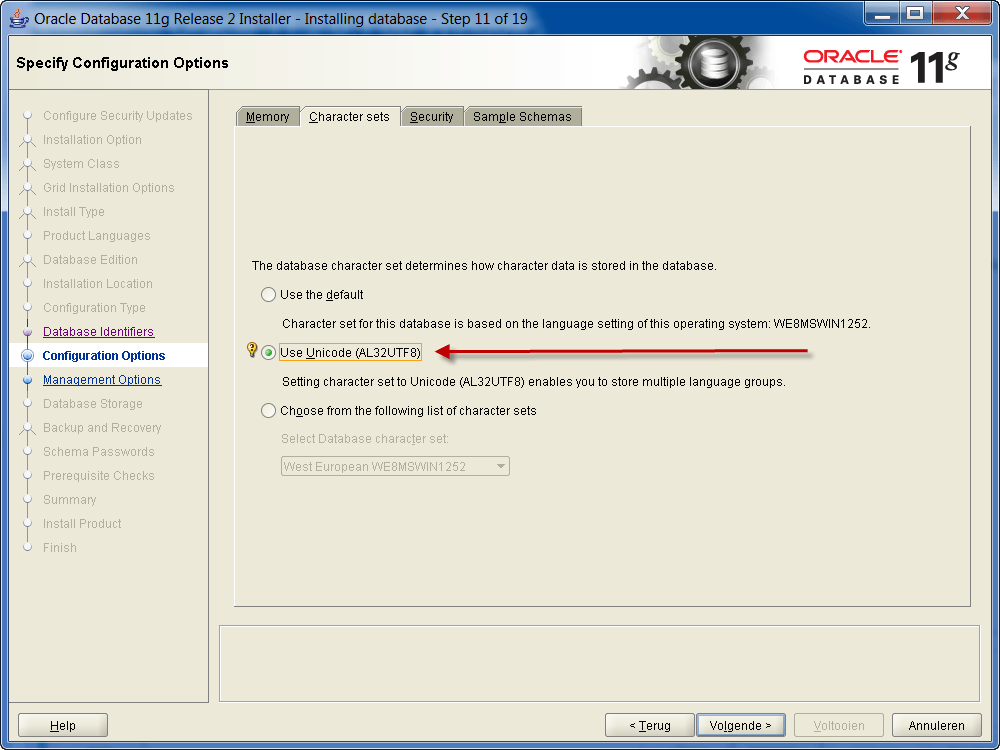
•Select ‘Next’.
•The following screen appears:
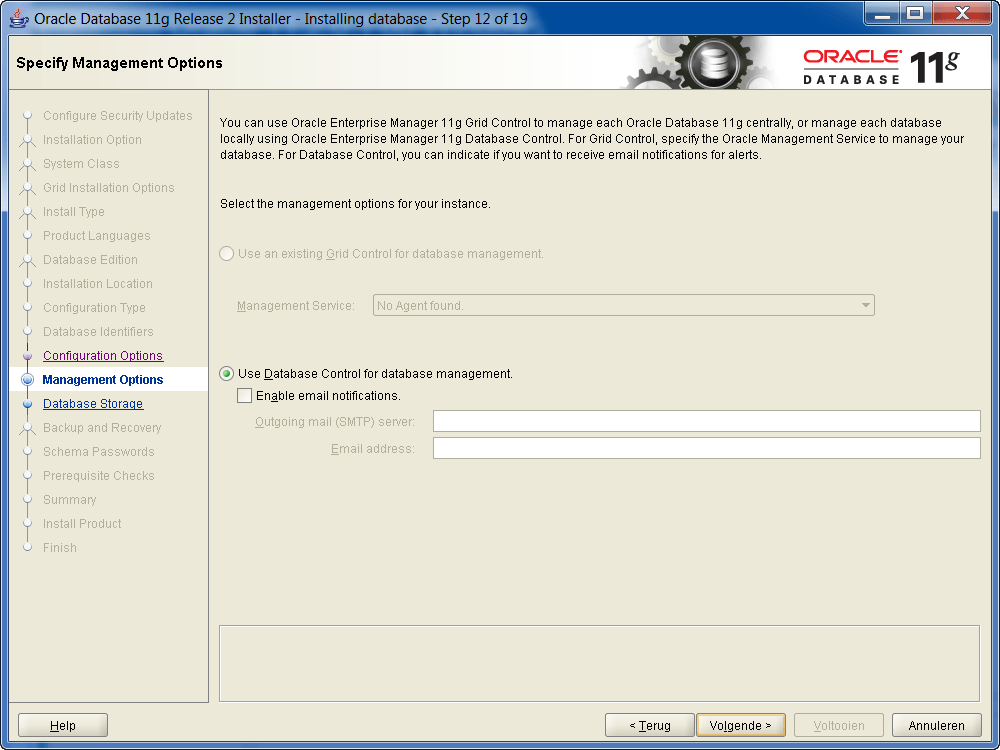
•Select ‘Next’.
•The following screen appears:
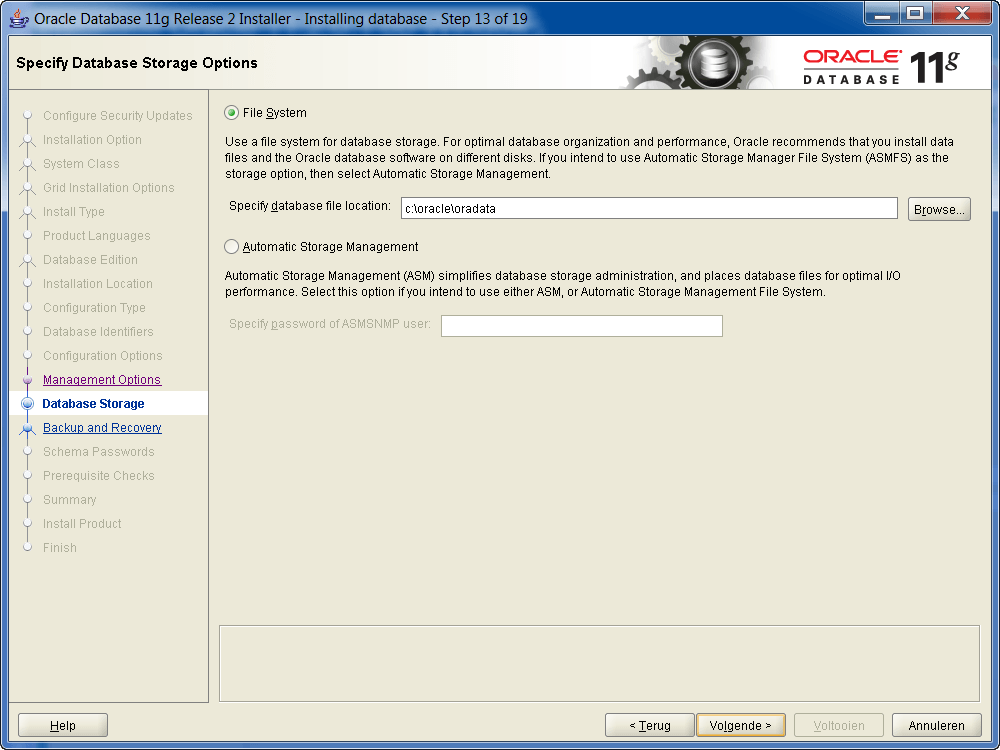
•Select ‘Next’.
•The following screen appears:
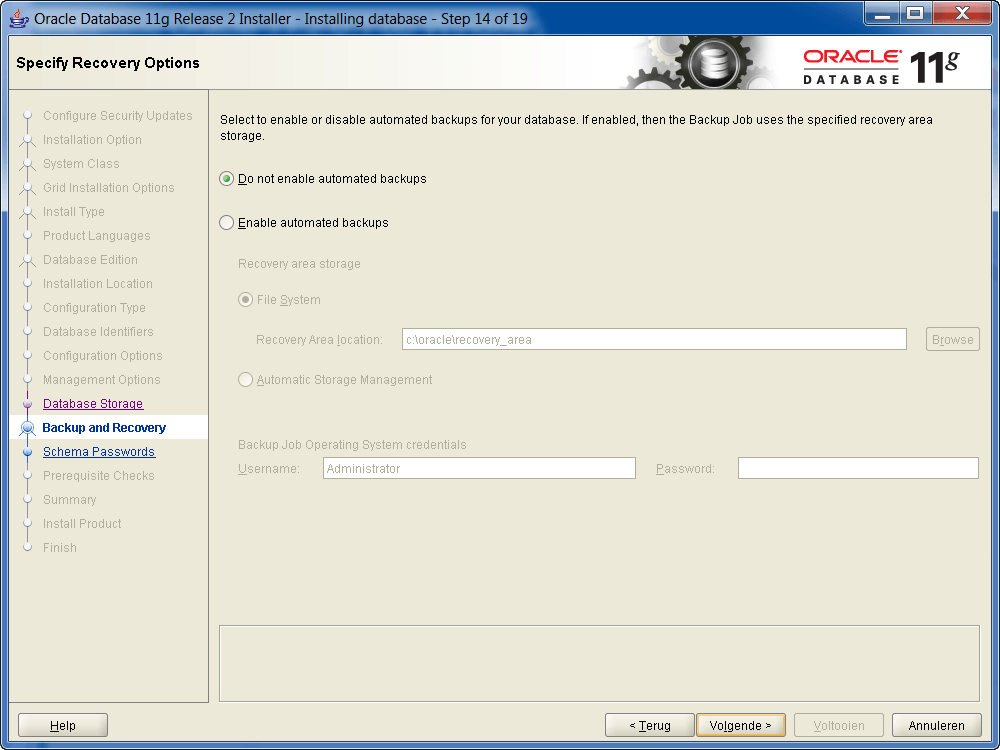
•Select ‘Next’.
•The following screen appears:
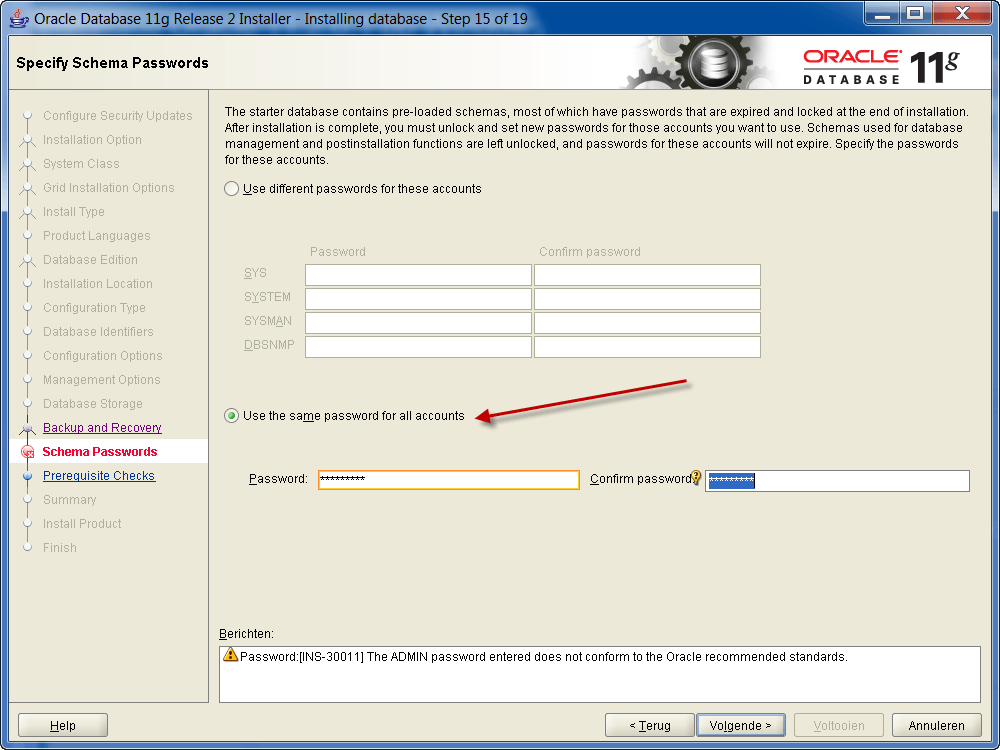
•Enter the preferred password.
•Select ‘Next’.
•The following screen appears:
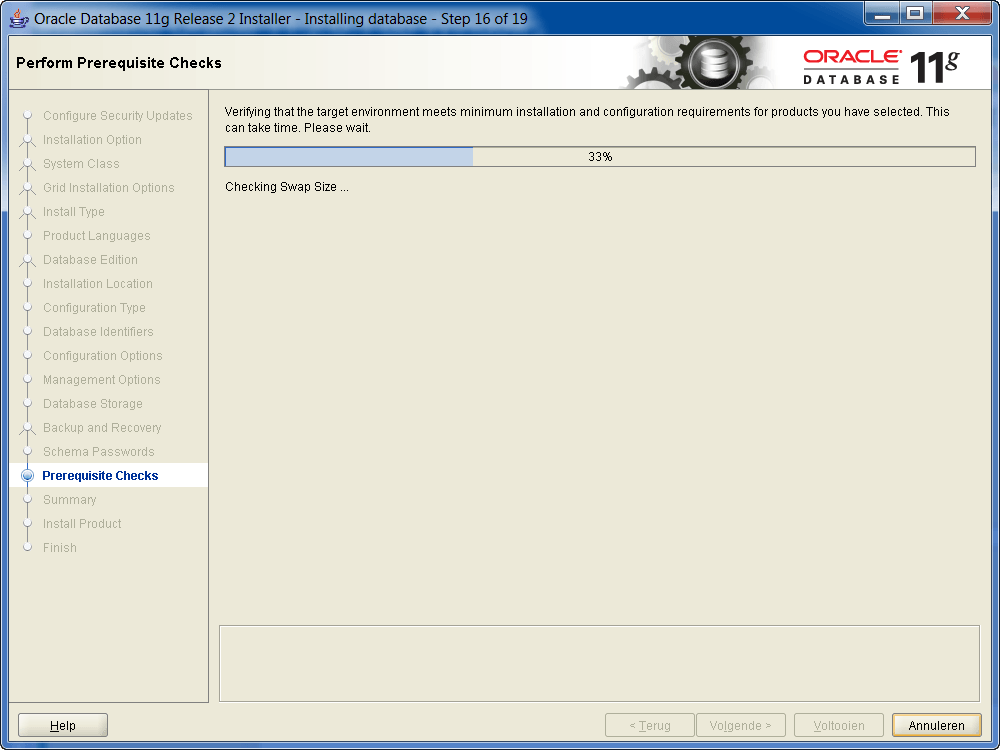
•Check the results and select ‘Next’ if there are no problems.
•The following screen appears:
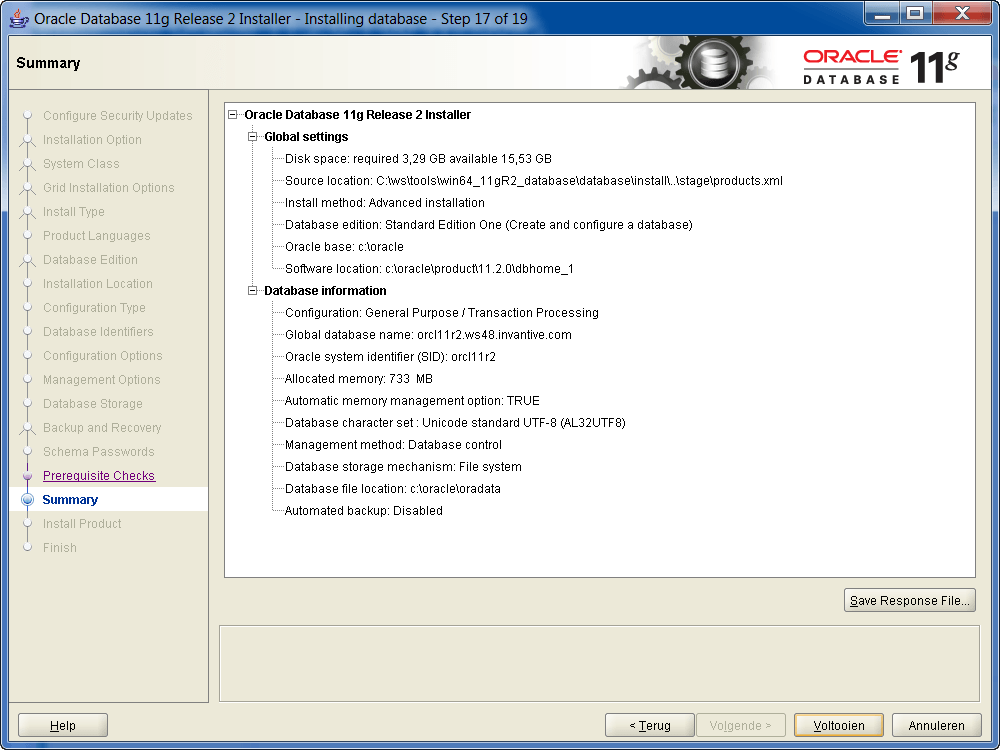
•Check the settings and press ‘Finish’.
•The following screen appears while the installation is being performed:
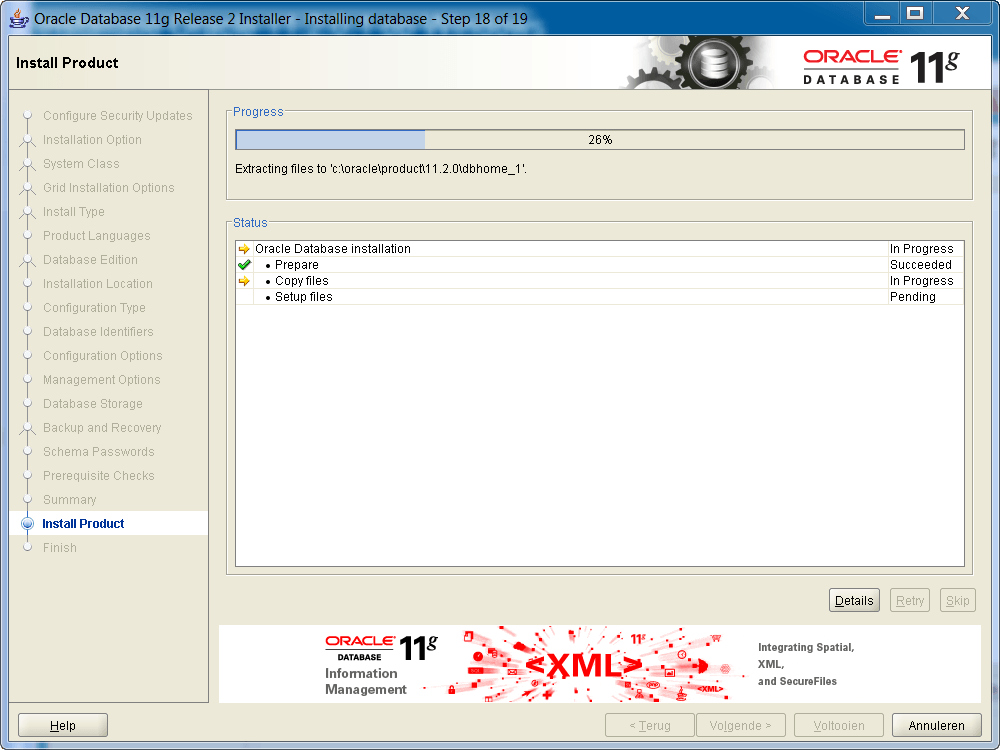
•This takes depending on the circumstances up to 30 minutes.
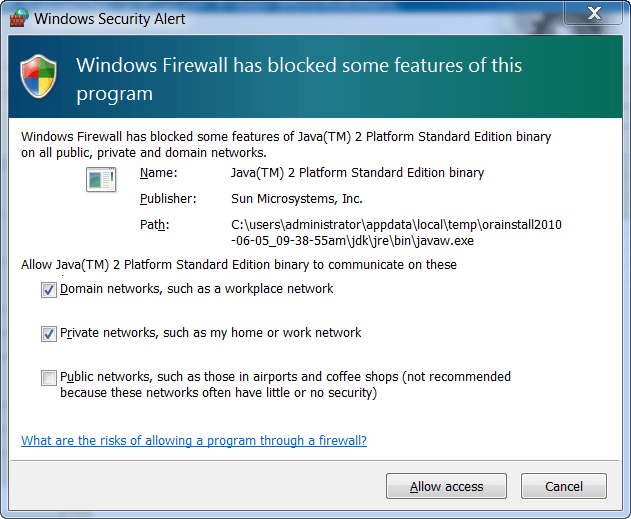
•On some platforms, a warning from Windows Firewall will appear when parts of Oracle will be started. Accept these in consultation with the system administrator.
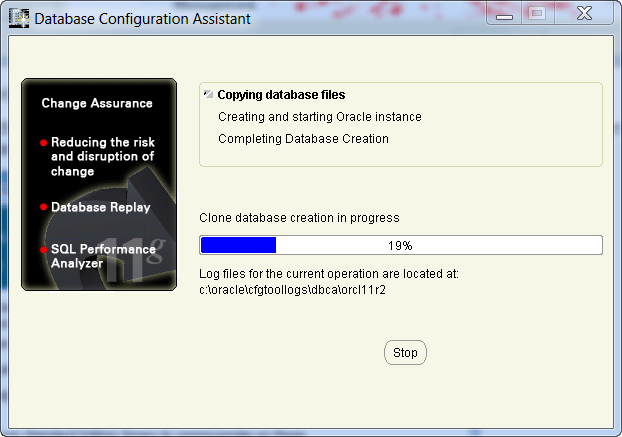
•The following screen appears when the database is being created:
•At the end the following screen appears:
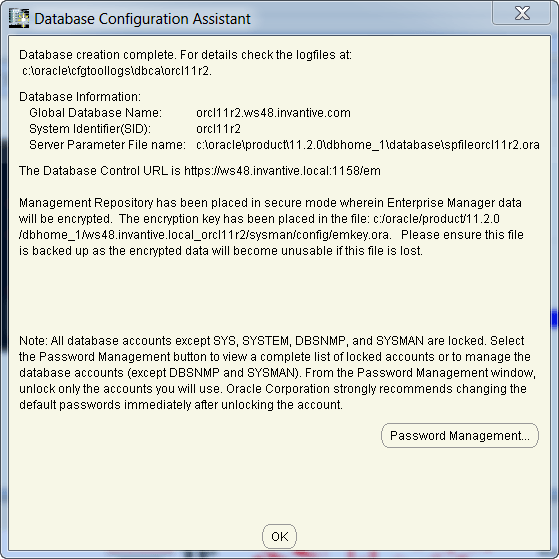
•And finally the screen:
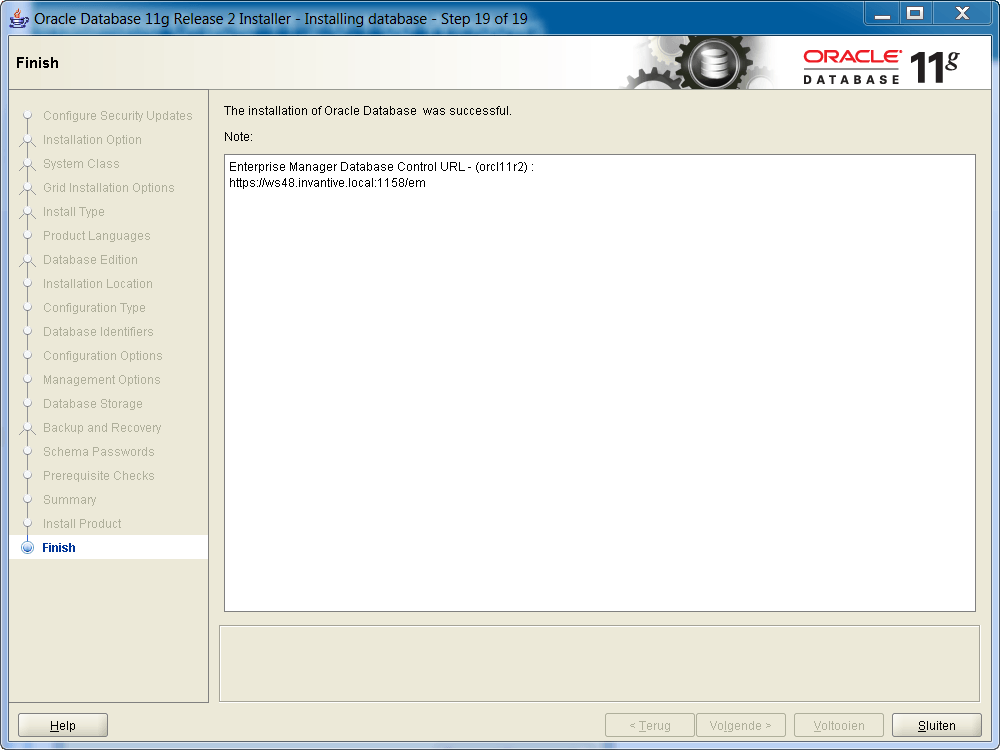
•The installation is completed after choosing ‘Close’.
•Delete the line 'SQLNET.AUTHENTICATION_SERVICES= (NTS)' uit ORACLE_HOME\network\admin\sqlnet.ora.
•Afterwards install the Oracle patch 14095819 (32-bit Windows) or Oracle patch 14095820 (64-bit Windows). This is patch 7 on 11.2.0.3. Inside is a patch for Oracle bug 12794090 which ensures that you can also read a dump with impdp which is made with expdp during an Unicode Installation of an Oracle database (AL32UTF8 draw collection).
 Invantive Estate