The installation of the Oracle client can be done following the next steps:
•The Oracle client is available via http://www.oracle.com/technetwork/topics/dotnet/downloads/net-downloads-160392.html.
•Unzip the download.
•Navigate to the folder containing the ‘setup’ program, for example:
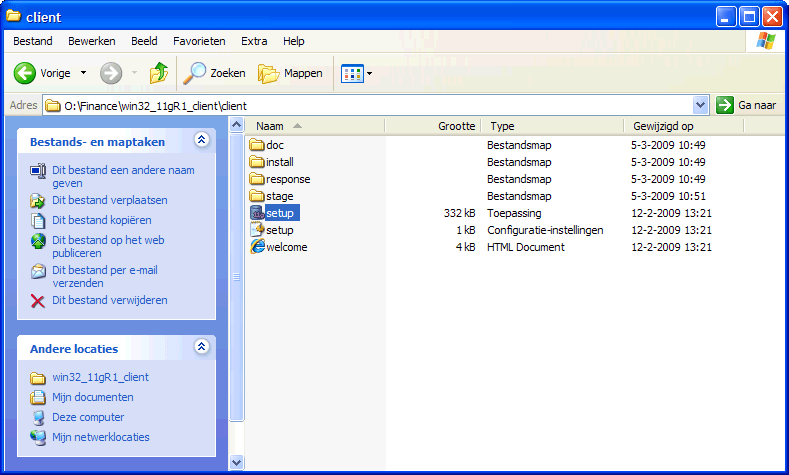
•The Oracle installation program appears:
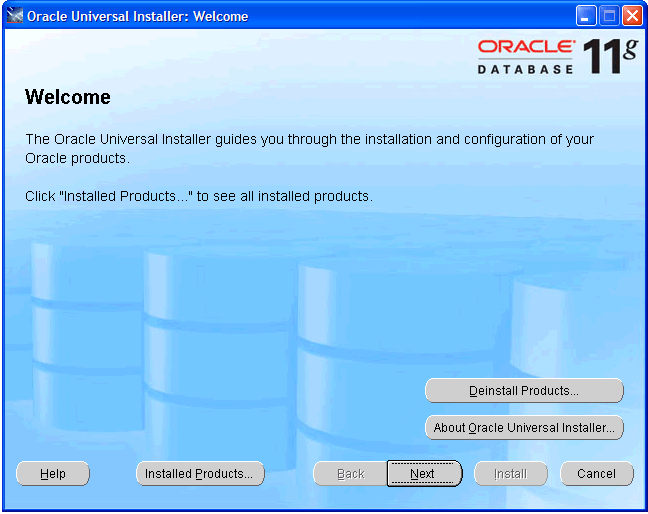
•We recommend to install the most comprehensive version within the license agreement, so that all devices are readily available if they should be needed later:
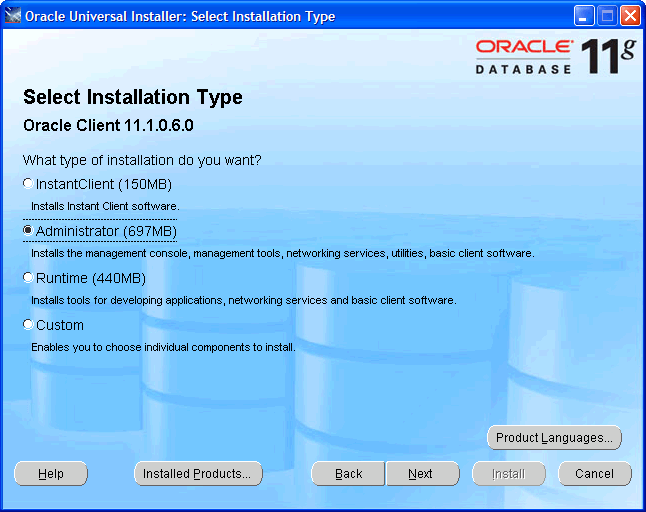
•Select the required languages via ‘Product Languages’. Here we recommend to choose all languages:

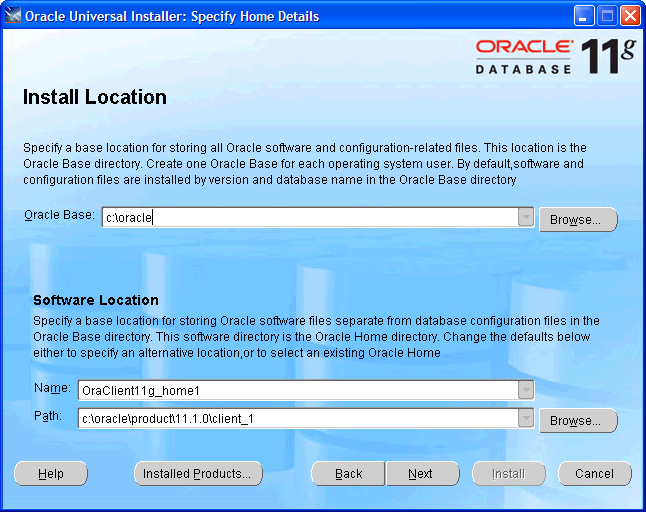
•Select ‘OK’ and then ‘Next’. We recommend to install the software under ‘c:\oracle’:
•Subsequently a number of checks will be performed. If problems are found, solve them first:
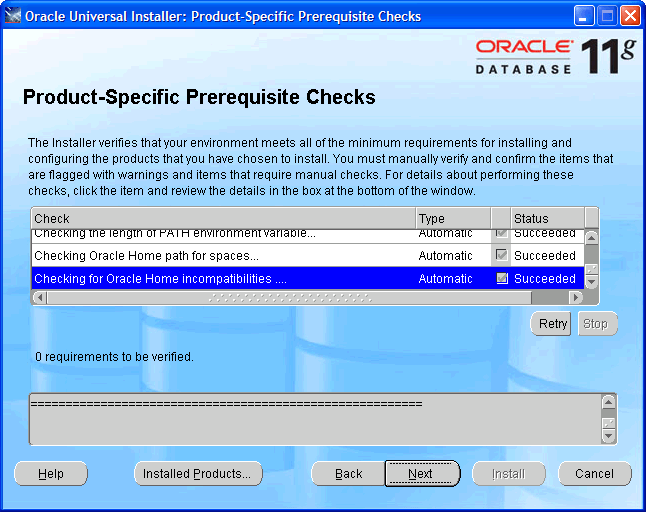
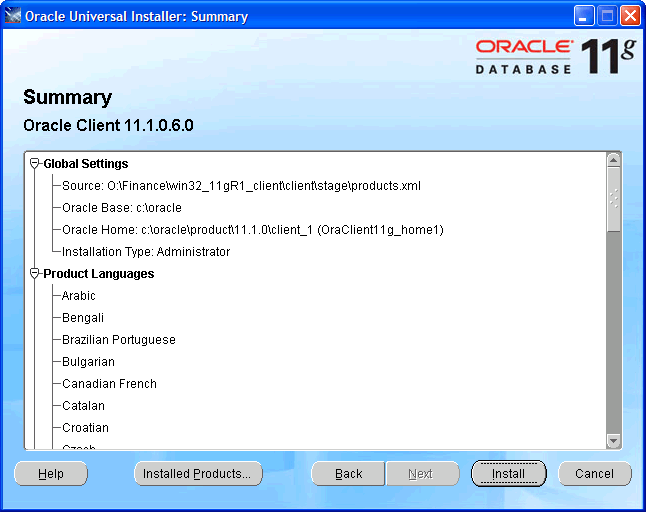
•Check the settings.
•Check if ODP.Net is listed between the products to be installed.
•Execute the installation by choosing 'Install':
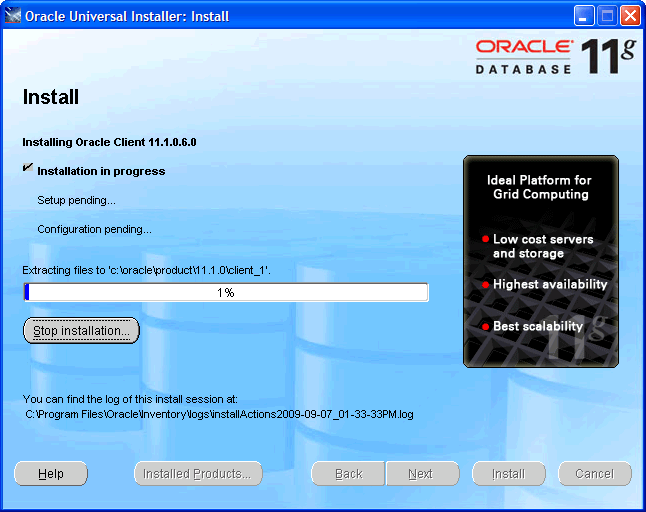
•The progress is displayed:
•Afterwards a configuration program for the network configuration is started. Choose ‘Cancel’, we advise you to use the configuration file ‘tnsnames.ora’ as described in the next part of the instructions:
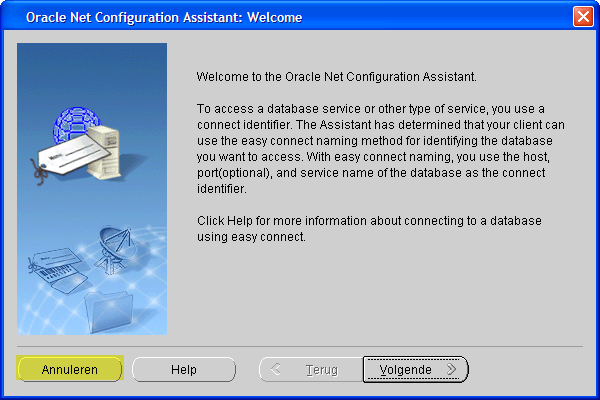
•Select ‘Next’:
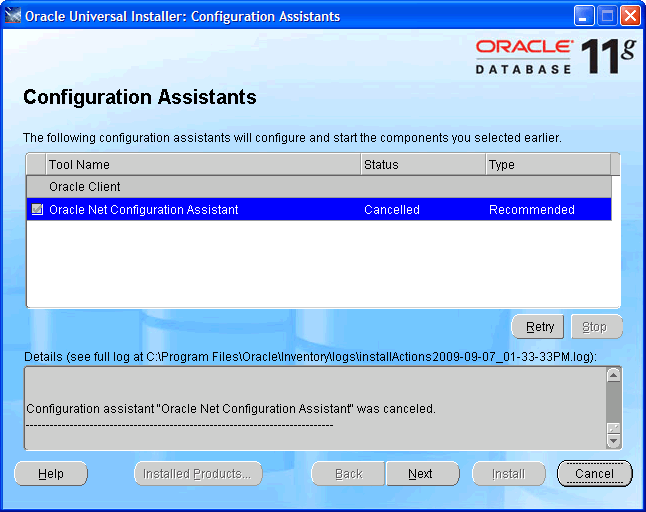
•Close the error message about the failure of the Oracle Net Configuration Assistant.
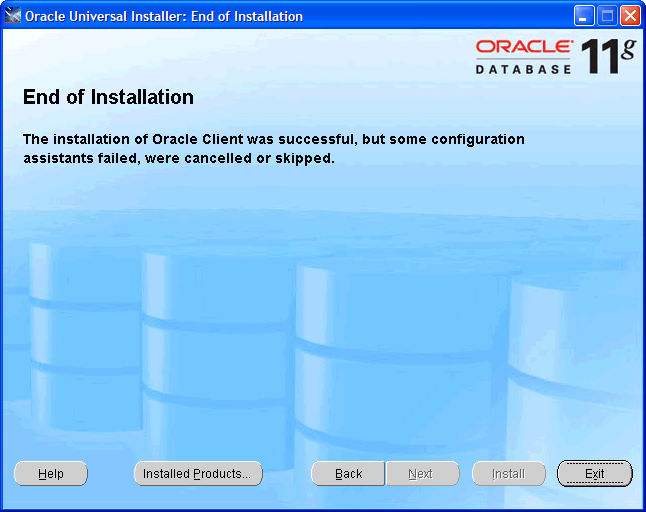
•Select ‘Exit’:
 Invantive Vision